
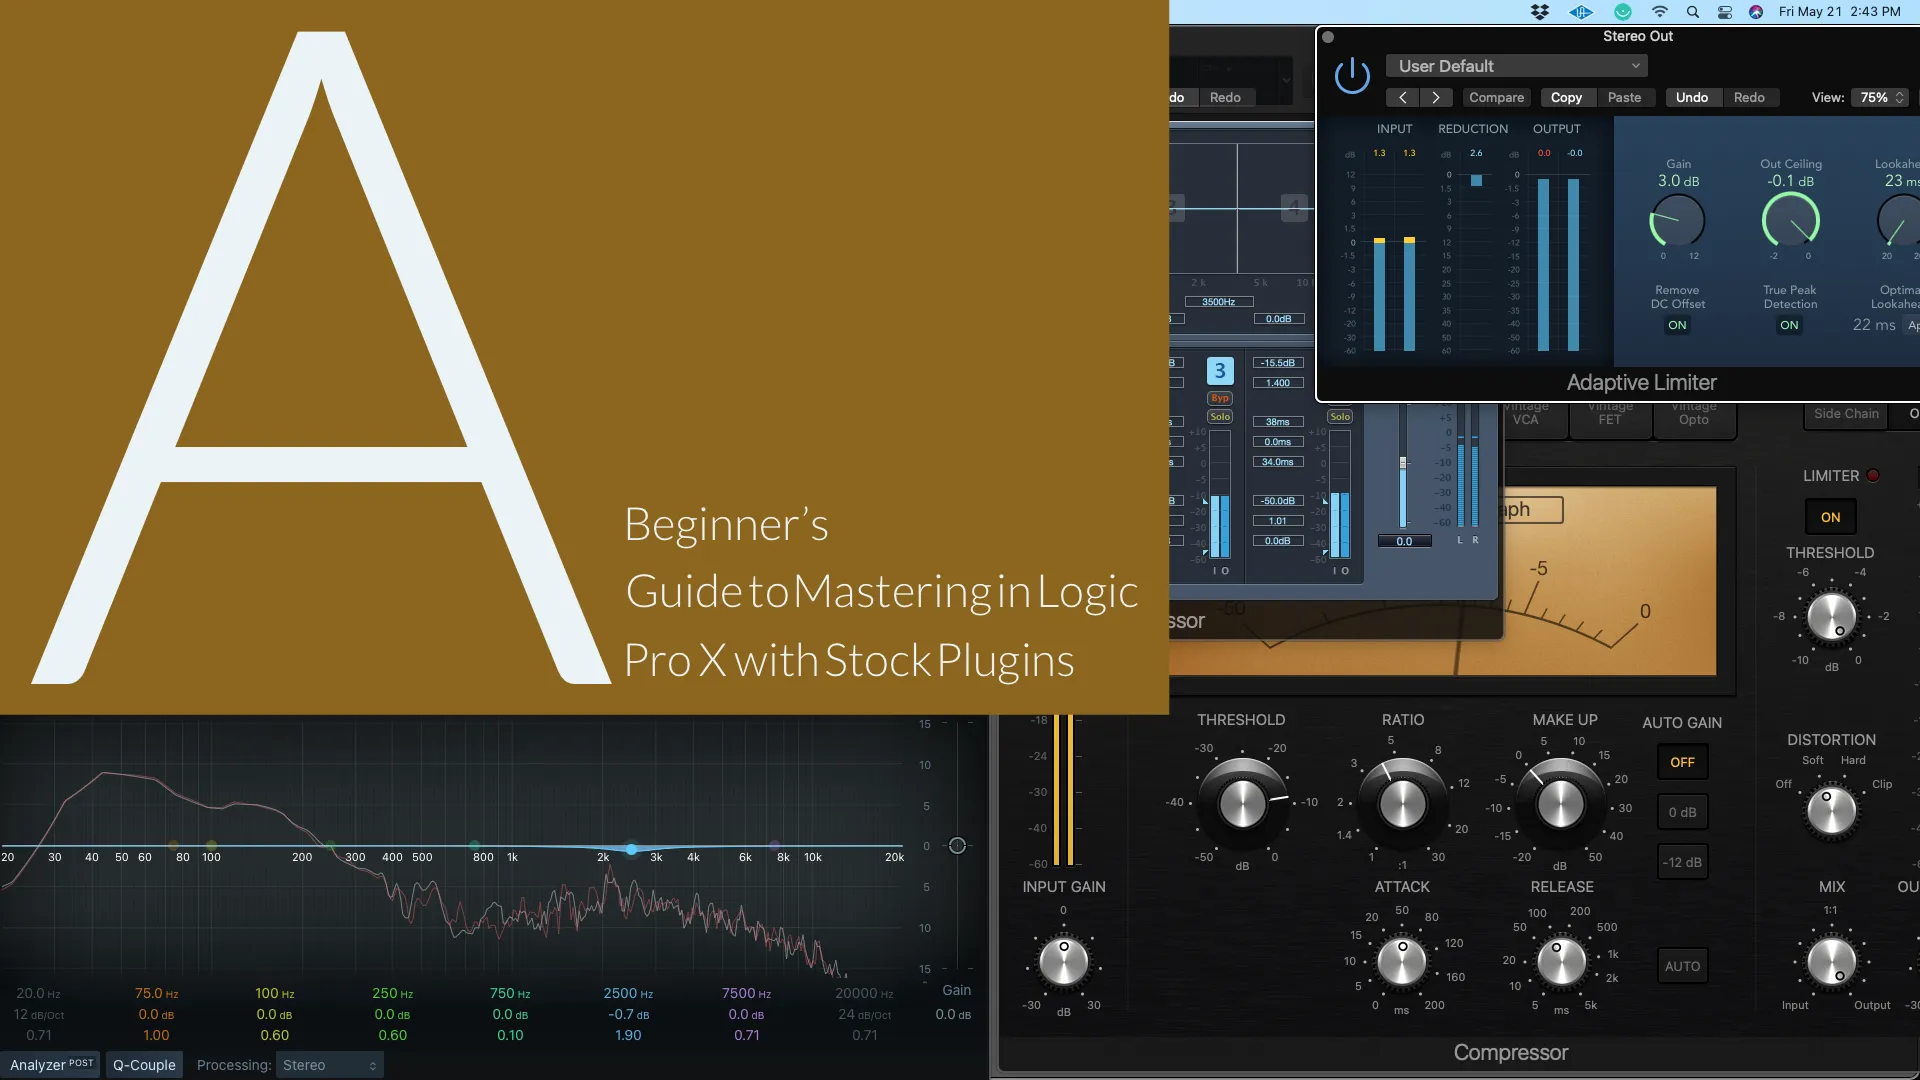
Mastering is often referred to as a dark art on the internet. While it can be a challenge for newer engineers to get down, in time you’ll find that getting a song up to competitive loudness isn’t really too difficult - the real difficulty being much more nuanced than that. Sure loudness plays a role in how “good” we think a record may sound, but then as soon as someone mentions dynamics or transients we get kind of lost. To further complicate things, not every streaming service treats audio the same. Sometimes songs get “normalized” on the streaming service and then the whole mix goes to crap.
The whole process of mastering one’s own record is great, but as soon as it is for someone else, those problems that were easy enough for you to fix suddenly aren’t. Luckily, most modern digital audio workstations (DAWs) like Apple’s Logic Pro X have most if not all the tools you’d need to solve any problem you could run into while mastering! It’s just a matter of whether you have the knowledge for it.
While there’s always the “most optimal way” of getting a result, it’s important to not let yourself get fixated on the optimal result. Focus on the best result for what you’re given. If you’ve given it all, then there’s no reason you shouldn’t be able to get it there.
Pre-Mastering
If you have a .wav file with your mix printed onto it, go ahead and use the Import function to import your mix onto an empty track in Logic Pro X. If you have not yet exported your mix, this can be done by using first selecting the starting and end points and then pressing CMD + B. This will bring up the bounce menu where you can select your format (.wav) with the same sample rate and bit depth as the original project.
Start by playing the song from the loudest section - usually noted by the highest amplitude waveform on your track. Let the track play out and meanwhile open up the bpm counter to find the tempo of the song. You can then enter that information along with the key signature into the global settings as you may need these for time-based effects later on and it also makes adding metadata easier later on.

Listening with Intent
Start making notes of where things are going wrong in the song you are mastering. Make timing notes like - how long is this a problem? A mix can be fine and then a new element comes in that wasn’t properly taken into account and it skews it off. Does a frequency pop out and hurt your ears? Or does the mix seemingly lose all of its life in this one section? Is this something you can fix at this stage or does it need to go back into the mix?
Before you start making any changes, take listen to your reference tracks. Reference tracks are songs that the artist or producer has chosen for you to refer back to for the master. These songs “should” have a similar desired loudness, punch, tone, and/or characteristic that the artist desires. Use these tracks as a baseline of what a good master sounds like. Ideally, you should use the highest quality lossless audio you can for reference tracks as the audio you will be comparing your reference tracks to will be high quality, lossless audio.
Starting with the first issue is probably a lack of headroom to get any work done in the first place. Headroom is space below 0. If a client submits a track into mastering and its already hitting at 0 and it's not delivering well, then you either need to reduce the gain of the track as early in the chain as you can or ask the client to EQ or reduce the volume if the mix is unbalanced. Balanced mixes are boring, but you also don’t want such a skewed mix - like having only the kick drum being the only real audible sound in the song to be your first impression for people.
In mastering there tends to be a good bit of back and forth before you begin working - that is unless your client has already figured out how to get a clean mix or you’re your client. Another issue you may not be ready to admit to yourself is that your imperfect mixing/mastering environment is lying to you. That is why I feel it is important not only to listen to your masters/mixes in your studio but also to the car, crappy speakers, and your phone speakers - which can be very revealing to your midrange, large PA speakers. Anything you know and use often. Near-fields are great for your midrange, some of your lower mids, and high-end. But without those large wall-mounted far-field speakers or some good mid-fields, you will ultimately struggle with some of these other sections of the stereo field. You should also have a channel called “reference track” that you can use in conjunction with disabling your plugins on your stereo out as well as muting the mix. You should use references while mastering to help you dial in the right sound and to compare your master to commercial releases. If it helps, listen to your reference mix with your eyes closed, and take some notes. Then listen to your mix with your eyes closed and take notes from that experience. Always be thinking about what your mix is lacking in comparison to your references. If this is for a client, reach out to them and have these discussions to help them get the best outcome.
“Why close my eyes to listen?” When we have a lot of visual stimulation, naturally our brains will hear less accurately to help process all the visual information. Closing your eyes while trying to listen intently will make you hear better - or at least be a little more cognizant of what is going on as your brain compensates for the sudden lack of visual stimulation.
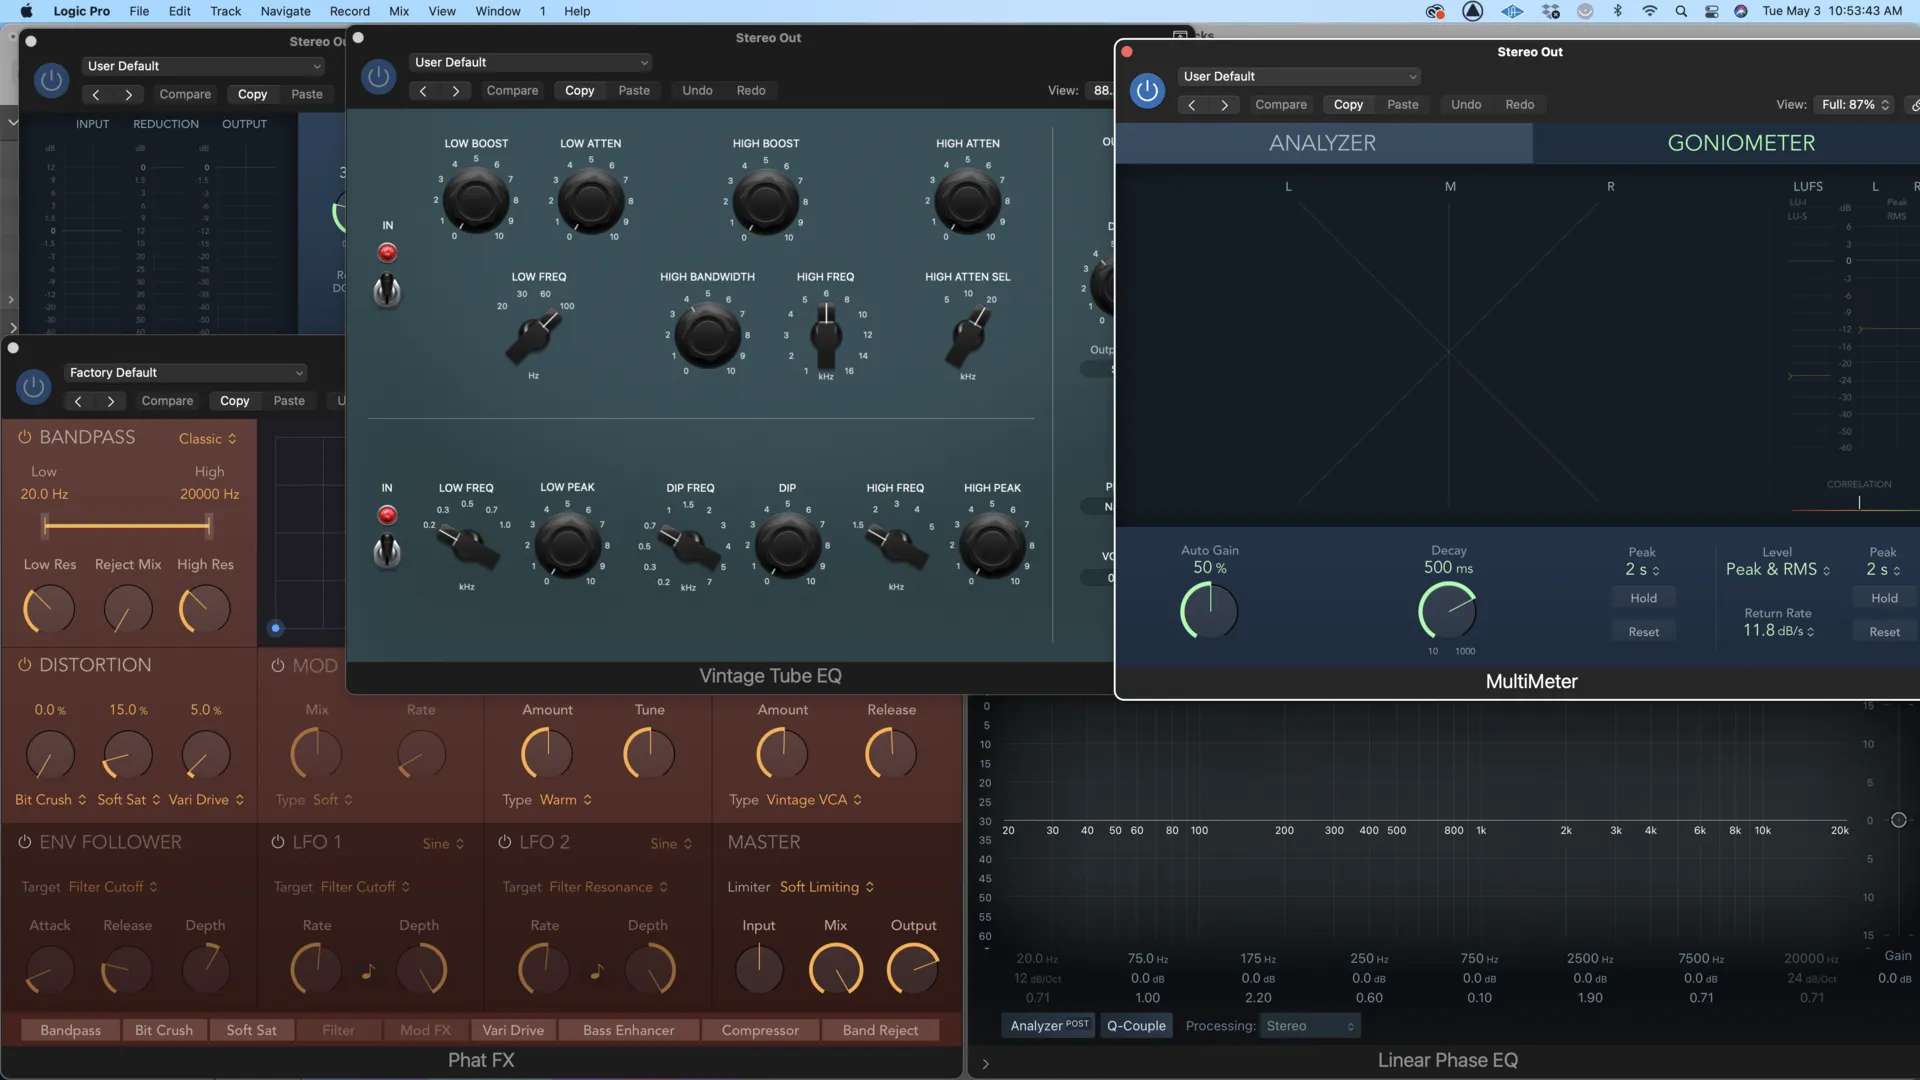
There are ultimately things you cannot do in the mastering phase so anything you can correct further upstream is only going to better the final product. Is the reference really brighter or are you just wanting a little more 3K on the guitars? But if you do want just a little more 2K across the mix or you plan to automate some of those changes, check out the Linear Phase EQ available in Logic. if you move onto compression with a glaring EQ problem, the problem is only going to get worse. Linear phase EQs work similarly to a regular EQ but it does some stuff behind the scenes to make sure the microphasing that occurs when you use any EQ doesn't happen. That microphasing is partly responsible for what we commonly refer to as the character of an EQ, microphone, or any piece of gear.

The Sauce: Tips and Tricks on How to Get More Out of Your Mix in Mastering
Parallel processing can be a lifesaver in helping you add harmonic content to a mix without having to dive back in too far into the mix. To use parallel processing, send the signal from your mix bus to a new bus, post-fader, and depending on the task you’re trying to accomplish, the plugins you’d use can vary wildly. Generally, engineers use the plugins on these buses to mangle and mess up the signal and add low ratio compression to that distorted signal for extra “oomph.” Then ever so slightly mix that signal in by zeroing out your fader and slowly mixing that signal back in. You may or may not need it - but it's a super useful trick for people to be aware of in mastering.
There’s also some secret tech here… Logic has a hidden tape saturation feature inside of the tape delay plugin - if you happen to need tape saturation. Just save that setting and you can use it on any channel in a mix in Logic. Or if you need a full-on tape saturation sound for your master, just drag and drop it onto the mix’s channel. Just be sure to mute that bus afterward. But, please, tinker with the tape head settings as well as the filtering to help hone in on your sound. It helps or at the very least is just more flavor to work with.
If you would like this preset - It is included in the Mastering in Logic Pro X with Stock Plugins Template along with everything else you need to master your next record in Logic Pro X.
If the mix is already sounding great and you aren’t clipping, then why add compression? A compressor where the mix and the parallel processing combines could be used to help you blend and squish the sounds together to give it a bit more cohesion. Compare your compression before and after. If it doesn’t sound better, DO NOT USE IT. Sometimes, there’s already a good bit of compression on the mix, so you may not need it. There’s a fine balance between balancing the transients and how close everything feels. The Multipressor in Logic is awesome because you can hone in on that one band that just poking out too much, then just bypass the rest and move on.
The Tube EQ in Logic Pro X is great for adding tiny EQ moves and adding a little bit of subtitle tube saturation. In my own personal chain, I use Universal Audio’s Pulteq emulation and while Logic’s Tube EQ isn’t quite the same, it's the closest thing in Logic Pro X and it actually yields very similar results. You’d be surprised how much lifting this EQ with no adjustments makes. Actually, I'm on a bit of a tube kick at the moment but tubes just sound awesome - I highly suggest trying out all variations of tube goodness.
Pulteq style EQs are great at centering a kick in the mix. Boosting the low band and narrowing the Q or bandwidth of the band can help in recent re-centering that kick but is really only useful in small doses. A ton of engineers do this. It just sounds good - and has played a large part in today’s modern sound. Yep, that's the sauce. Or part of it.
Limiting and Metering Inside of Logic Pro X: How to Use Metering and Limiters to Maximize Your Record's Quality
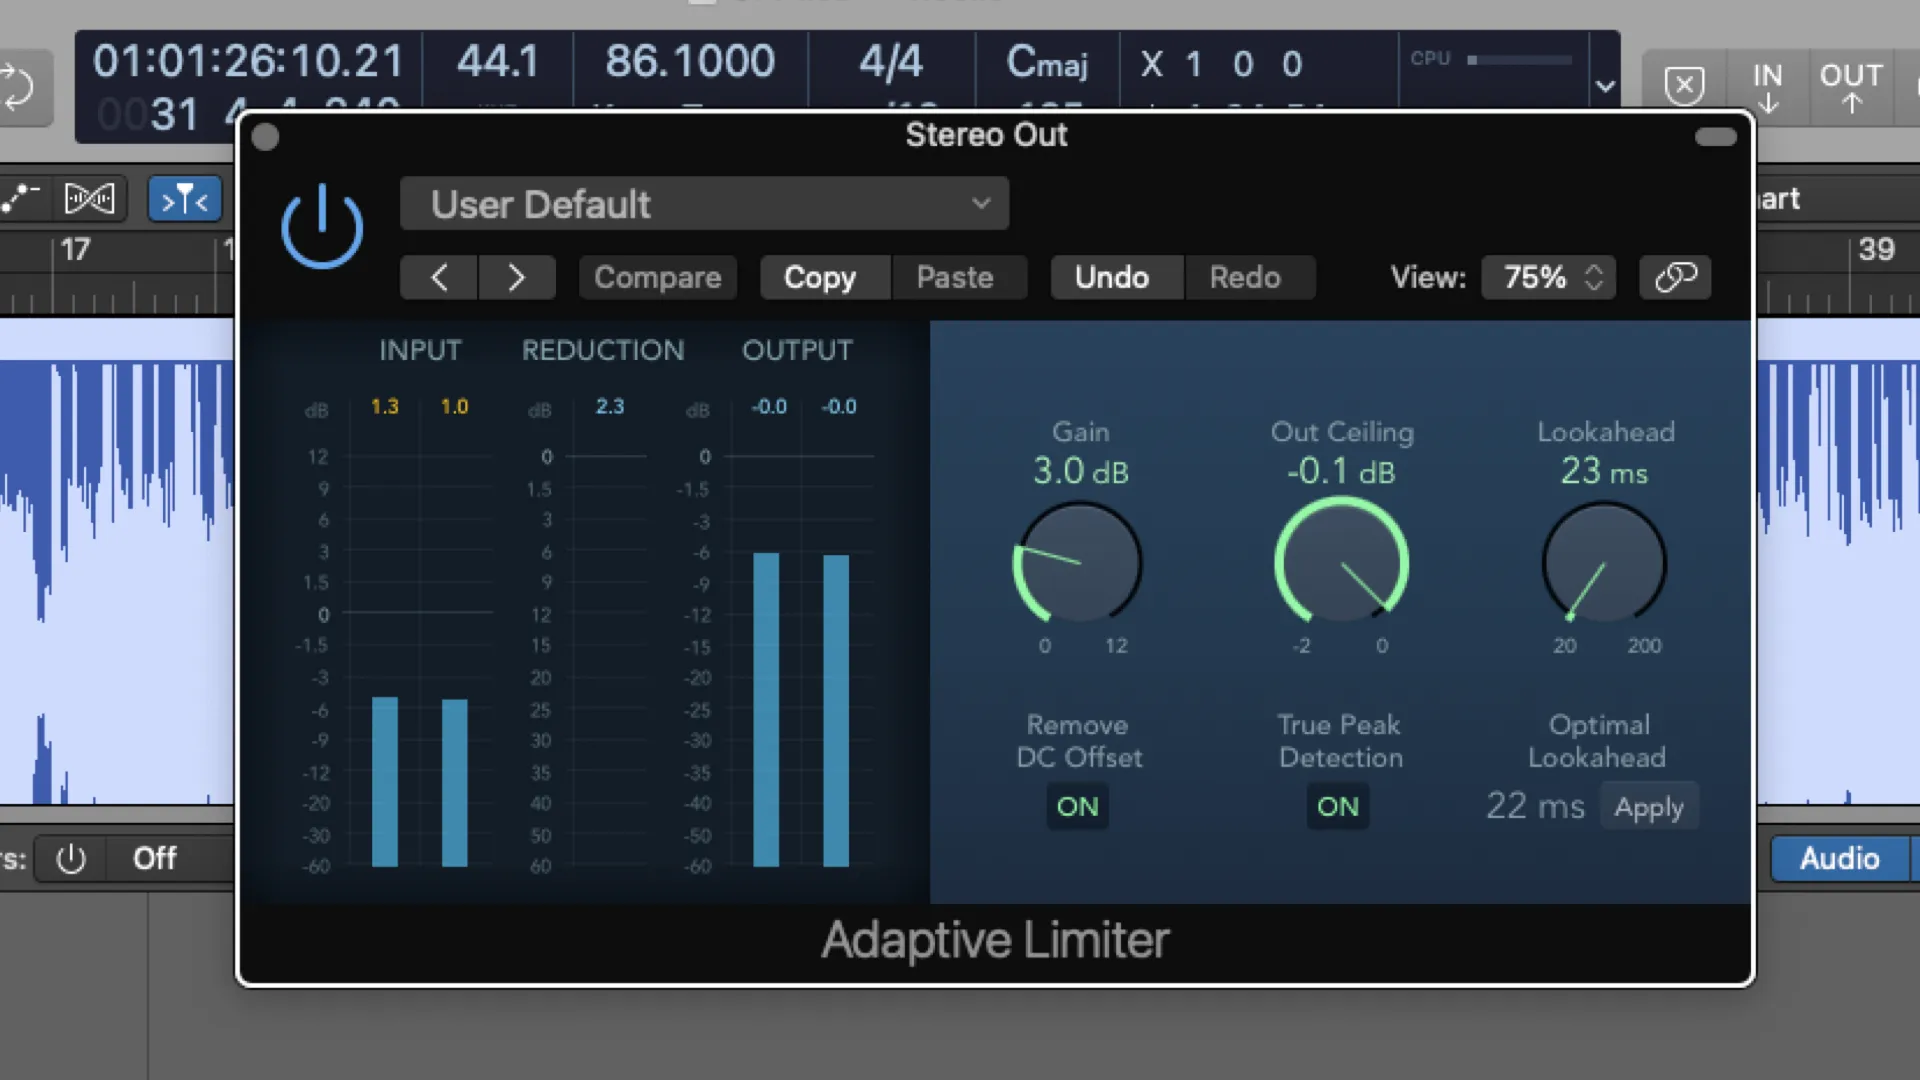
This is somehow both the easiest part of mastering and still somehow one of the more difficult topics. You can get loudness here but ultimately, in most situations, you will just be catching transients and stopping them from clipping. The biggest problem I see when people self-master a record is that they jam the mixed signal into the limiter - often by 5-7 dB of gain reduction and a truly insane amount of gain. In general, you wanna see maybe 1-3 dB of gain reduction and just a tiny bit of makeup gain (1-2 dB) to get that volume up. The other important part of limiting is the ceiling. The ceiling is how loud the signal will go to - but sometimes it goes over. This can be the actual signal slipping through or it could also be intersample clipping - which is less of a problem these days.
Sometimes you need to make time-based effect decisions. It happens. But also, the tempo is just useful information for mastering - especially if you plan on embedding the metadata. The BPM Counter in Logic Pro X is a great tool for this. This might not that important - but if you do EDM and DJ this might help you a bit with your file organization. I know when I get a mix in, even if I'm not working in Logic Pro X for that song, I'll still use the BPM Counter to see where my tempo is.
Multimeter - This is your new best friend. It tells you how things that sound good are supposed to look in the spectrum (yes look at your reference tracks here) and compares them your yours. Look at the LUFS reading above the meters themselves. But this is kind of incorrect. At least how I use meters. Sure, the average mix will have a general waveform shape in the meter with the low end being the loudest with the high-end information being the lowest. That doesn’t tell you what you want to know. I end up using the multimeter and tools like it to check where frequencies are overlapping and building up, but I also use them to check its phase correlation and to see if the mix is getting smeared in the stereo field.
The Goniometer on the right side of the multimeter will help you determine if you’re losing information on the sides from phasing and the correlation meter helps with that as well. With the correlation meter, the closer to 1 you are, the better you will be translating across speakers.
DON’T PAY ATTENTION TO THE -14 LUFS COPY-PASTA! MATCH YOUR REFERENCE TRACK BY EAR!
No, seriously. If you’re mastering to -14 LUFS, your music will sound quieter compared to everything else. Load up your favorite music and just listen to it while referencing the loudness meter in the Multimeter. A lot of commercial music goes way beyond -14 LUFS. -14 LUFS is just where they set the target to reduce to. What is ultimately important is how well your dynamics and transients translate. If those aren’t clearly defined, no amount of limiting is going to help. A lot of times in those situations, I find that the compressor being used needs to have its attack slowed down - to allow more of those transients through.

thank you so much for reading this! if you found this helpful it would mean a whole lot to me if you shared this with a friend or on social media. if you'd like to get more content like this, join the newsletter by clicking or tapping the button below!
want to join a community of like-minded producers, musicians, and artists? join our Facebook group "That Frickin' Thumps!"
Sponsored By:
easyfunnels
EasyFunnels is the ultimate tool for creating high-converting sales funnels and websites for your brand or business. With its intuitive drag-and-drop interface, you can easily build professional-looking funnels in just minutes. Plus, its powerful integrations with the most popular marketing platforms allow you to maximize the ROI of your marketing efforts. Whether you're a blogger, musician, small business owner, or marketer, EasyFunnels is the perfect solution for boosting your brands online presence and growing your business. With EasyFunnels, you can easily build landing pages, opt-in forms, and thank-you pages, all designed to maximize your conversion rates. Plus, our intuitive drag-and-drop interface makes it easy for even the most technologically challenged to create professional-looking funnels and websites. Try it out today and see the difference it can make for yourself!
adobe
If you're a fellow creative in business, coming up with the creative you need in order to market yourself is hard. With the Adobe suite, things like photo editing, video editing, and even scheduling posts across social media platforms are streamlined so that you can learn how to use them fast. The Adobe suite also includes a free portfolio that you can use to post your work and link to your social media pages. Learn how to get your free trial by clicking/tapping on the button below!